Run GVS on Verily Workbench
Categories:
Prior reading: Workflows overview
Purpose: This document provides a tutorial for running GVS in Verily Workbench.
Introduction
Genomic Variant Store (GVS) is a WDL-based workflow developed by the Broad Institute. This tutorial shows you how to run GVS in your own workspace.
Step-by-step instructions
1. Create a Cloud Storage bucket to hold WDL files
Workbench currently requires that the WDL file(s) for your workflow is in a bucket. For this example, we create a new bucket.
- In the Resources tab, click + New resource and then New Cloud Storage bucket.
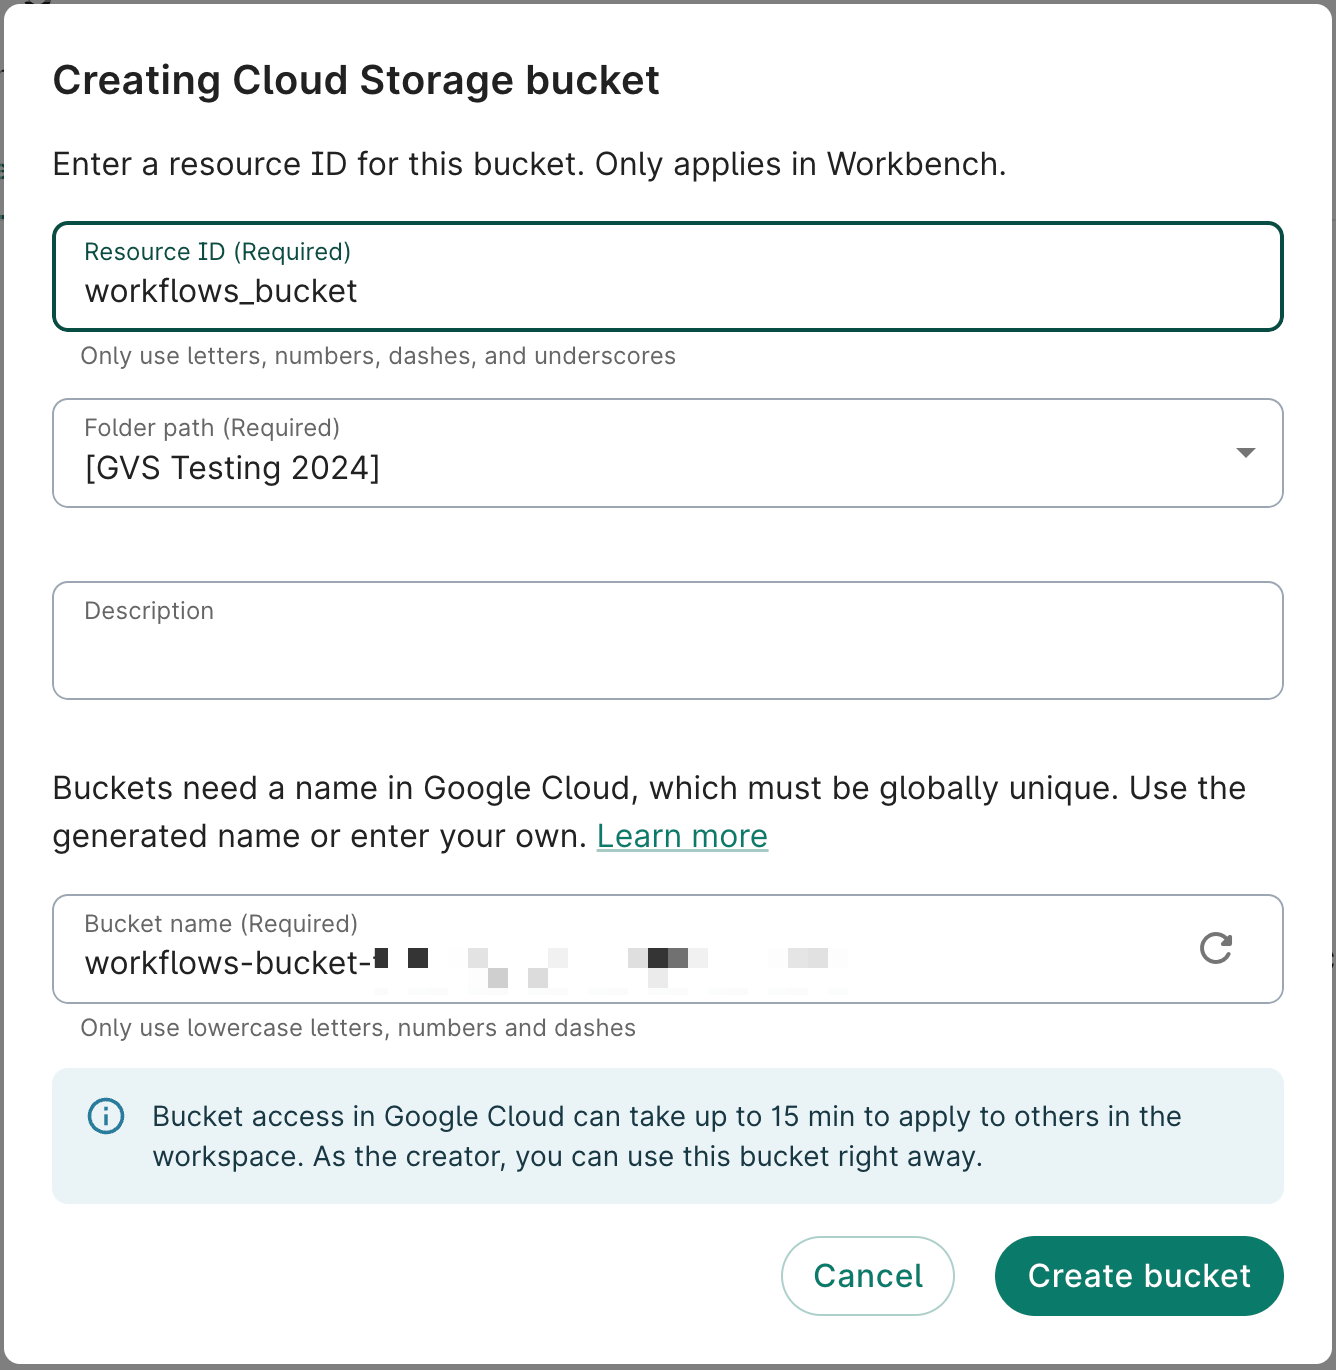
- Create a name for the bucket. In this example, we'll name it
workflows_bucket. Click Create bucket.

2. Create a BigQuery dataset
The GVS workflow requires a BigQuery dataset to exist that it can read and write to. For this example, we'll create a new BigQuery dataset.
- In Resources, click + New resource and then New BigQuery dataset.
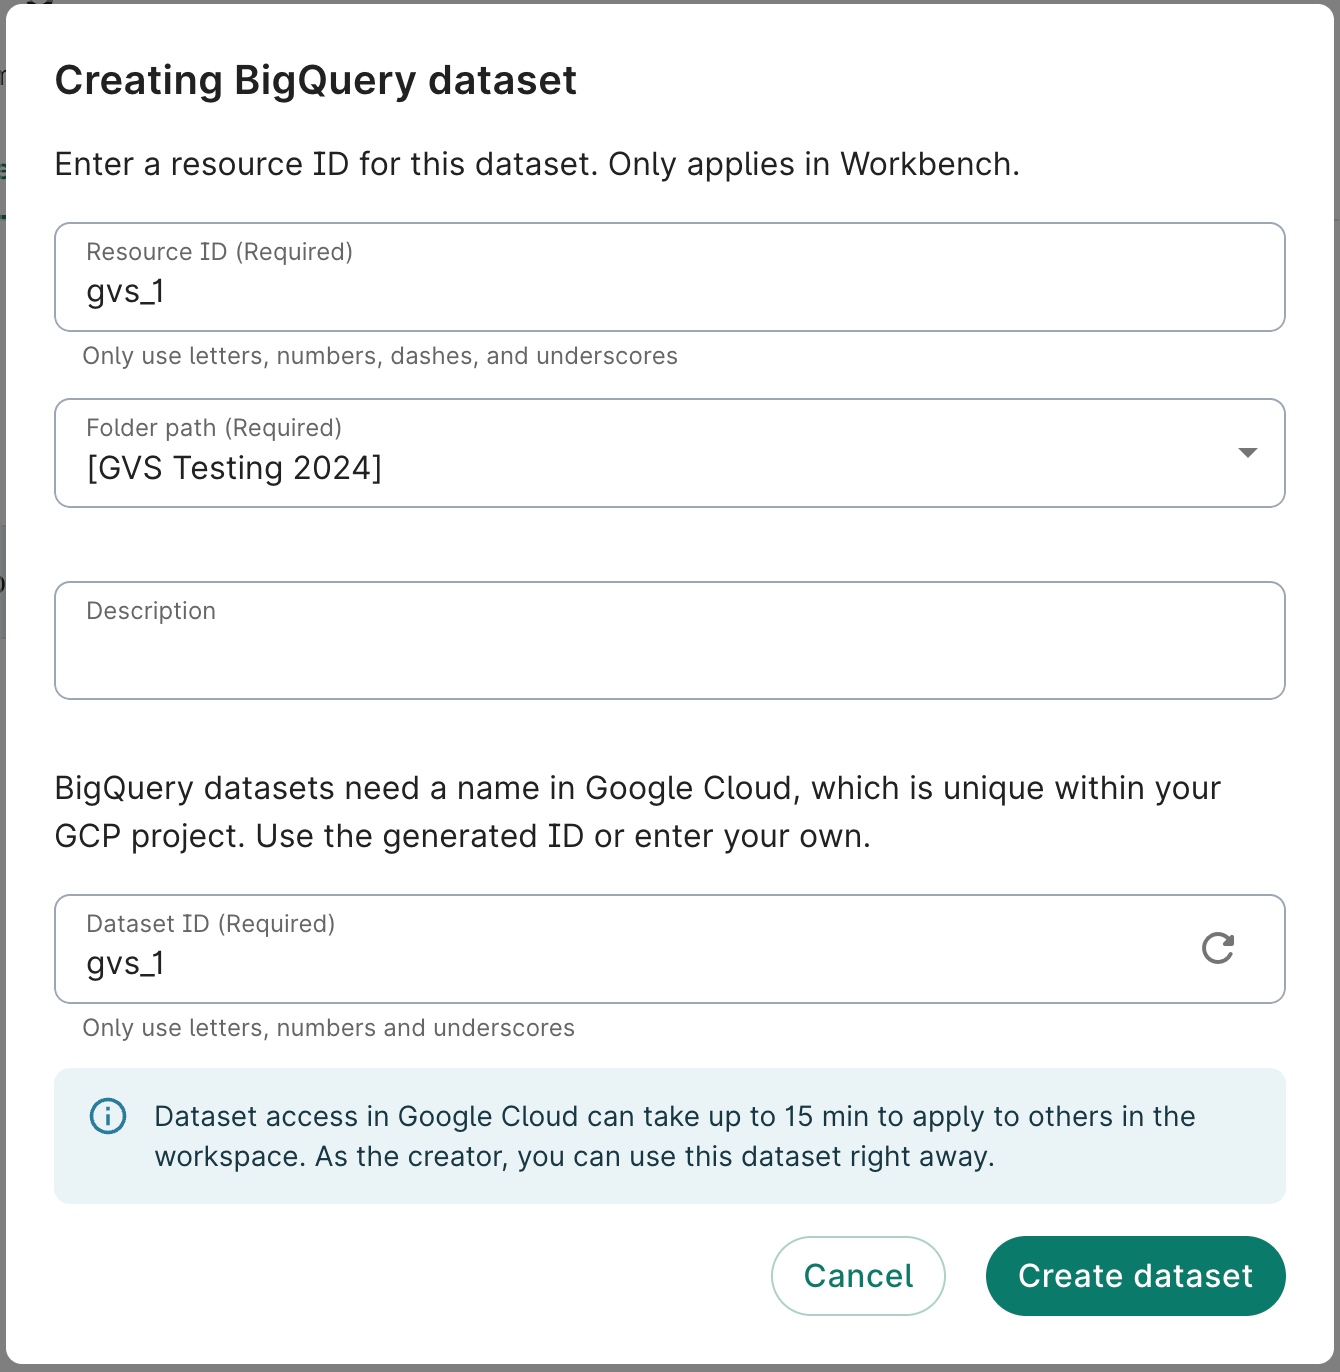
- Create a name for the dataset. In this example, we'll name it
gvs_1. Click Create dataset.

3. Get the WDLs into the bucket
The WDLs used are available on GitHub here. To add them to the workflows_bucket created in step 1, run:
git clone https://github.com/verily-src/workbench-examples.git .
cd workbench-examples/cromwell_setup/gvs_wdls/known_good_wdls
gsutil cp *.wdl $BUCKET_NAME
4. Add the workflow
Navigate to the Workflows tab and click + Add workflow (or Add your first workflow if you haven't created any workflows yet). Add the WDL named GvsJointVariantCalling.wdl.
5. Create a new job
Click on the + New job button. Navigate to the next Prepare inputs page.
6. Enter the inputs
Enter in the following values:
| Input Key | Value | Example |
|---|---|---|
| GvsJointVariantCalling.call_set_identifier | Any string for this callset. | "my_call_set_1" |
| GvsJointVariantCalling.dataset_name | The dataset created in step 2. | "gvs_1" |
| GvsJointVariantCalling.external_sample_names | The list of sample names. | ["2013050218", "2013050219"] |
| GvsJointVariantCalling.input_vcf_indexes | The list of Google Cloud Storage locations pointing to the VCF index files of each sample. | ["gs://genomics-public-data/ftp-trace.ncbi.nih.gov/1000genomes/ftp/release/20130502/ALL.chr18.phase3_shapeit2_mvncall_integrated_v5a.20130502.genotypes.vcf.gz.tbi", "gs://genomics-public-data/ftp-trace.ncbi.nih.gov/1000genomes/ftp/release/20130502/ALL.chr19.phase3_shapeit2_mvncall_integrated_v5a.20130502.genotypes.vcf.gz.tbi"] |
| GvsJointVariantCalling.input_vcfs | The list of Google Cloud Storage locations pointing to the VCF files of each sample. | ["gs://genomics-public-data/ftp-trace.ncbi.nih.gov/1000genomes/ftp/release/20130502/ALL.chr18.phase3_shapeit2_mvncall_integrated_v5a.20130502.genotypes.vcf.gz", "gs://genomics-public-data/ftp-trace.ncbi.nih.gov/1000genomes/ftp/release/20130502/ALL.chr19.phase3_shapeit2_mvncall_integrated_v5a.20130502.genotypes.vcf.gz"] |
| GvsJointVariantCalling.project_id | The Google Cloud Project ID of the workspace. | "YOUR_PROJECT_ID" |
7. Monitor the workflow
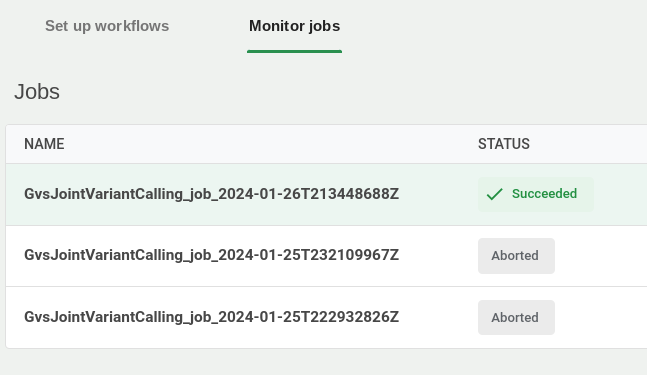
In the Workflows tab, click the Job status sub-tab to monitor jobs as they run and complete.

8. Get outputs
Once the workflow completes, browse the workspace bucket and navigate to the task containing the sharded VCF outputs.
Last Modified: 10 December 2024